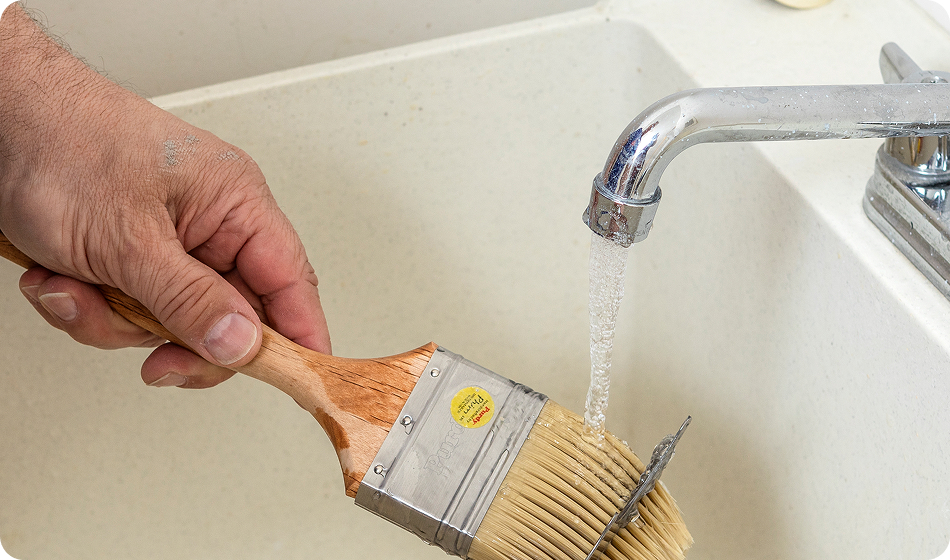
STEP 1
Prep the walls
The right preparation gives you a smooth, clean finish. You’ll want to clean the surface, prime, make any repairs and sand the walls.
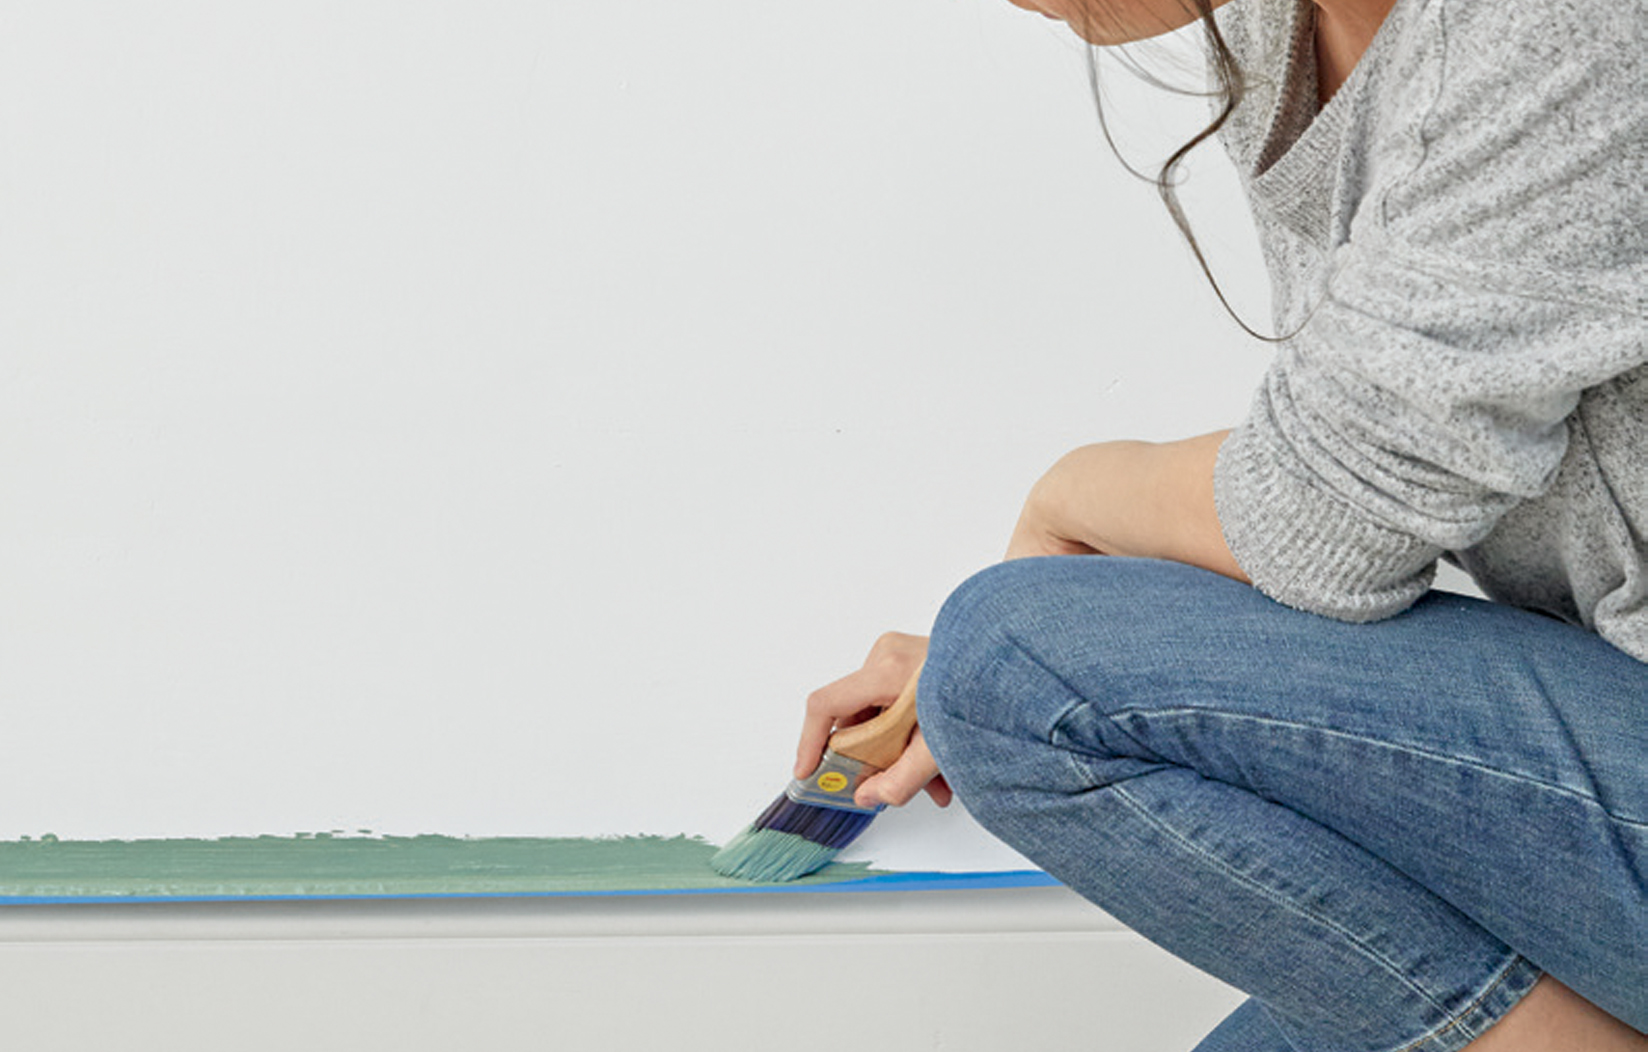
STEP 2
Cut in with a brush
When painting along the trim and under ceilings, use an angled bush to get into areas that a roller can't reach. The technique is called “cutting in.”

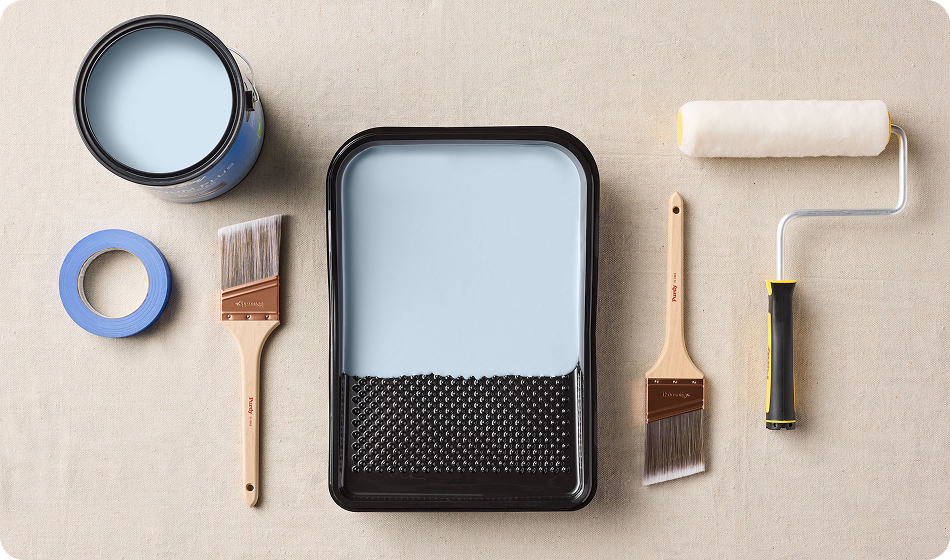
STEP 3
Use a paint roller
A roller is typically better than a brush for walls and other large surface areas. Use the correct type of roller cover for the type of paint you're using.
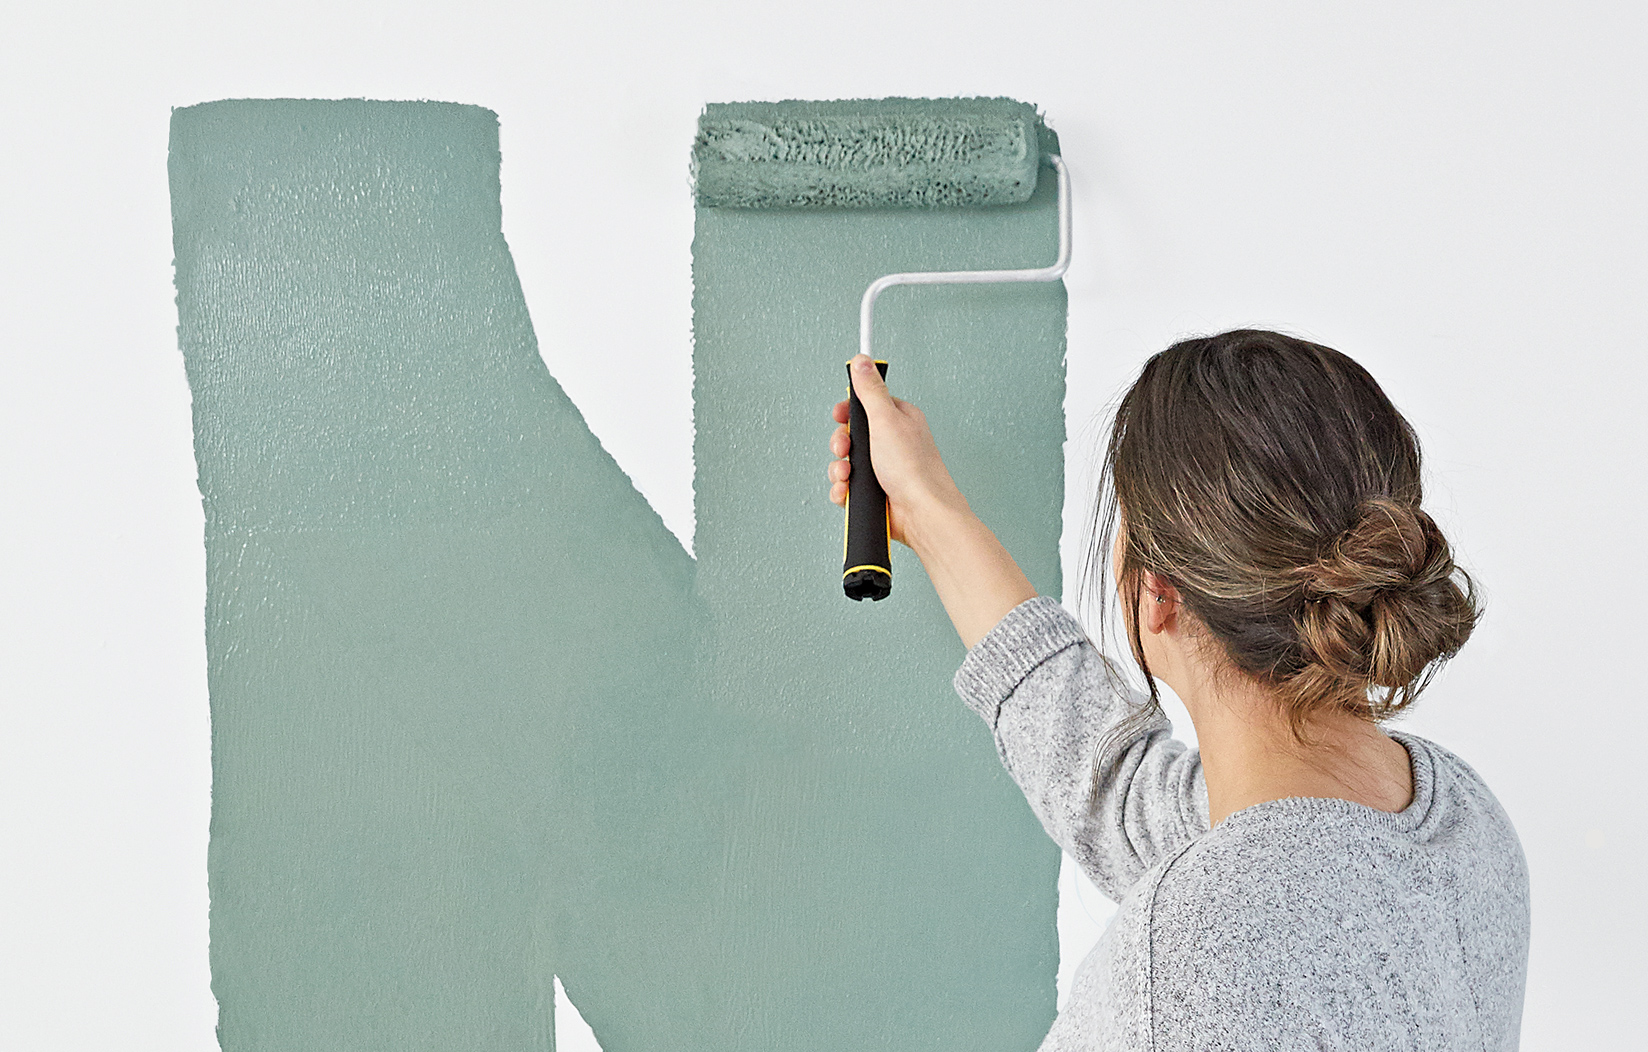
STEP 4
Learn the technique
In an area about 3’ x 3’, roll on paint in the shape of an N, from bottom left to top right. Fill the center horizontally, then lightly smooth with vertical strokes.
STEP 5
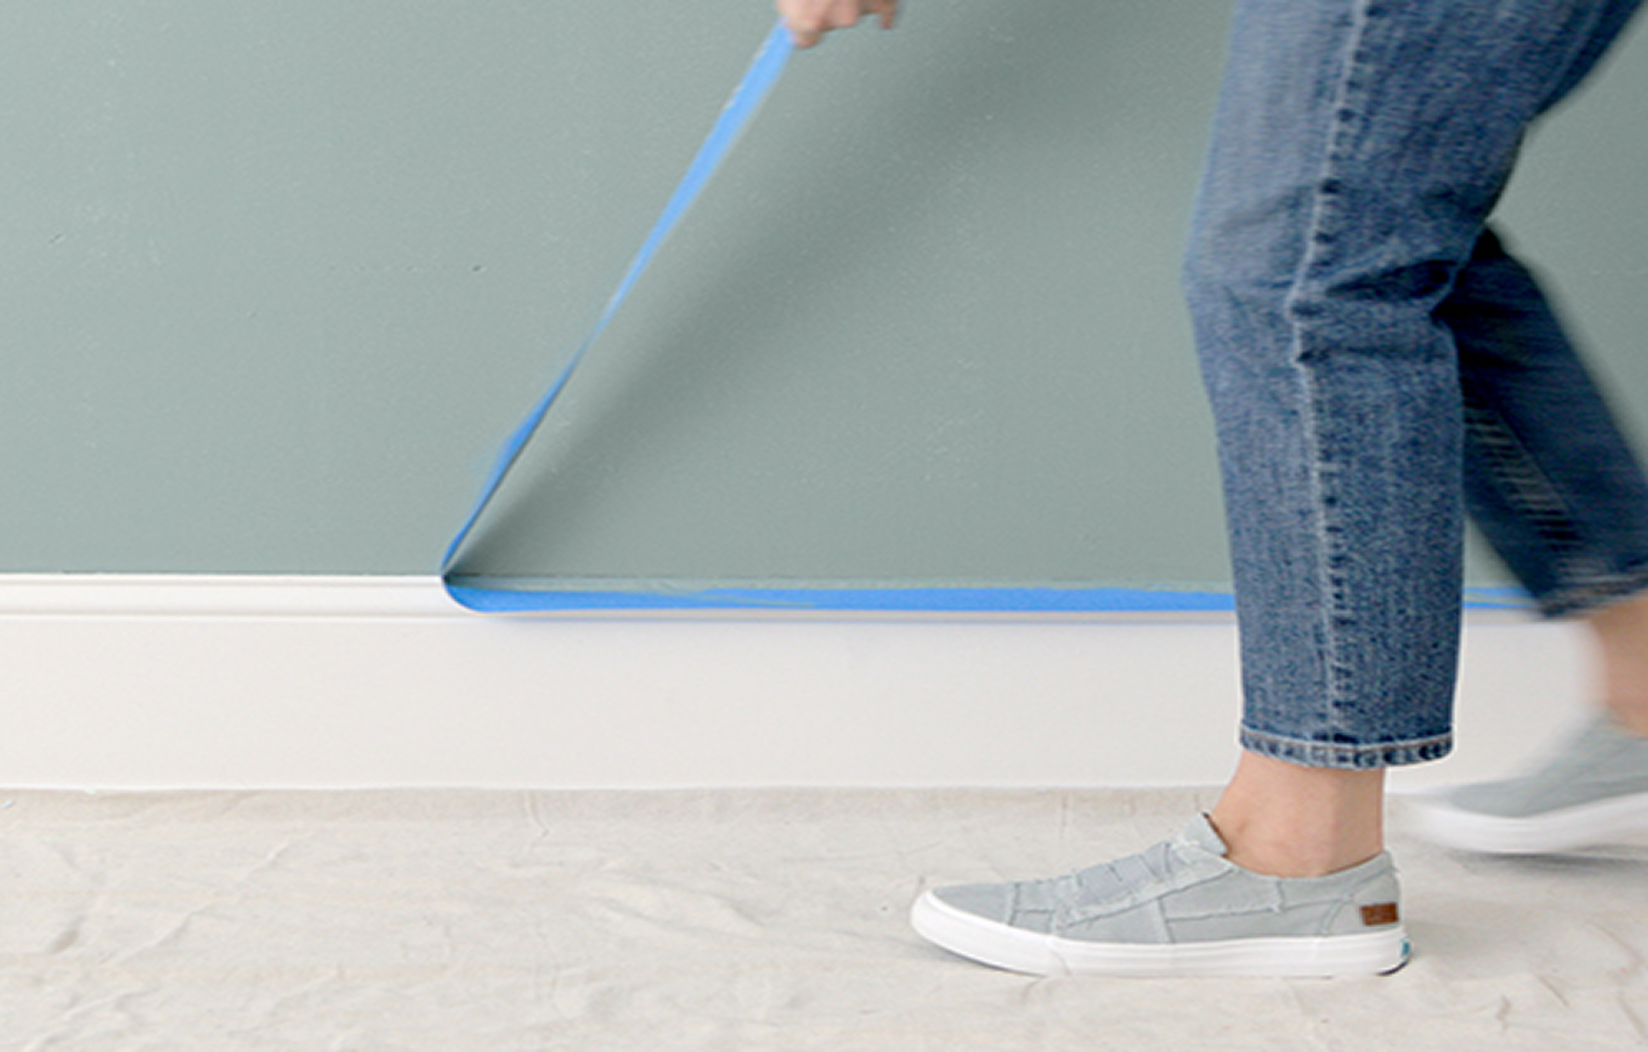
Remove tape
Painter's tape keeps paint off trim and gives clean, straight paint lines. Press down well along tape edge so paint won’t bleed. Remove tape before paint dries.

STEP 6
Enjoy your space
Kick back and admire your new room! Make sure walls and trim are dry before moving furniture back against the freshly painted surfaces.


Tips