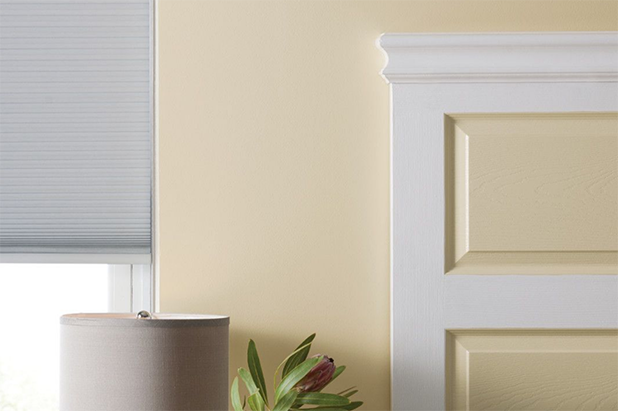
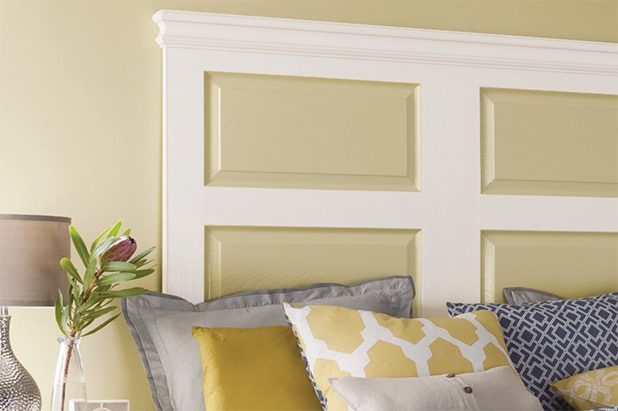
Featured Colors
We used the product above. But you can view more Cabinets & Furniture products.
Additional Supplies
- Purdy® flat paintbrush
- Purdy® mini woven roller cover and roller frame
- Purdy® mini tray
- Wooden interior door
- Decorative trim molding(precut the height of the door)
- Painter's tape
- Wood filler
- Putty knife
- Wood glue or all-purpose adhesive
- Fine- to medium-grit sandpaper
- Hammer
- Finishing nails
- Clean, damp cloth
- Level
Available Exclusively at Menard’s
Free store pickup where available.
Step 1:
Prep the door by filling oversized areas, such as doorknob holes, with a piece of wood cut to size and glued into place; fill smaller holes with wood filler and the putty knife to create a smooth surface; allow to dry completely.
Step 2:
Use wood glue to adhere decorative molding to the top of the outward facing part of the door; wipe away excess glue with clean, damp cloth; insert finishing nails with the hammer every few inches; apply wood filler over nail holes.
Step 3:
Lightly sand any rough or glossy surfaces; wipe with clean, damp cloth to remove dust or debris.
Step 4:
Using the mini woven roller, paint the outer frame; use the flat brush to paint the decorative trim and hard-to-reach areas with the first paint color; allow paint to dry 24 hours.
Step 5:
Affix painter's tape just outside each door panel; using the flat brush, paint the recessed panels with the second color.
Optional: Apply a second coat of paint for added coverage.
Step 6:
Remove painter's tape while paint is still damp; clean up any mistakes with the clean, damp cloth; allow paint to dry, following suggested drying time on paint can label.
Step 7:
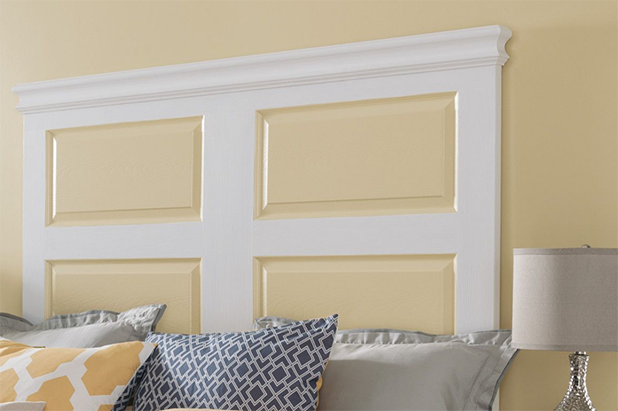
Install headboard.
Show off your project.
Were you inspired by one of our ideas? We’d love to see. And share. Tag @dutchboypaints on Instagram to have your project featured.