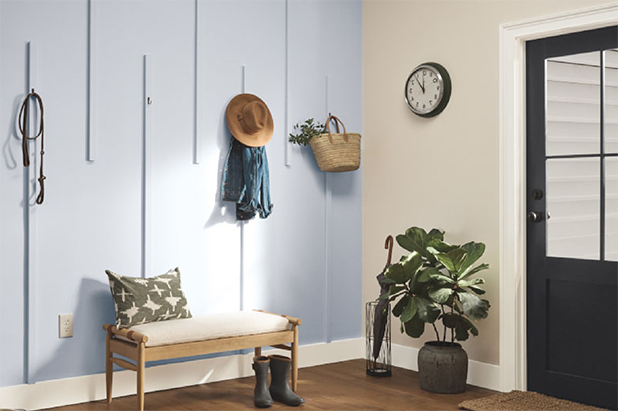

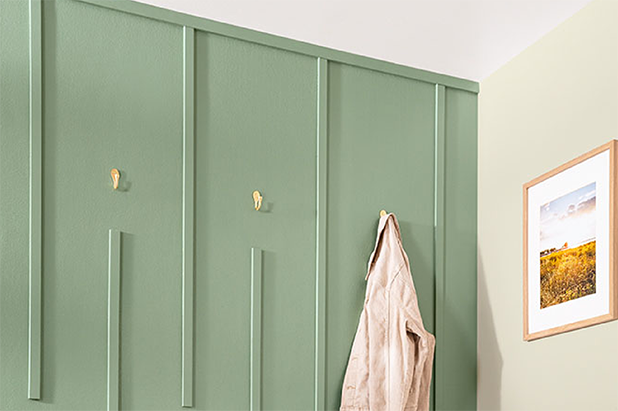
Featured Colors
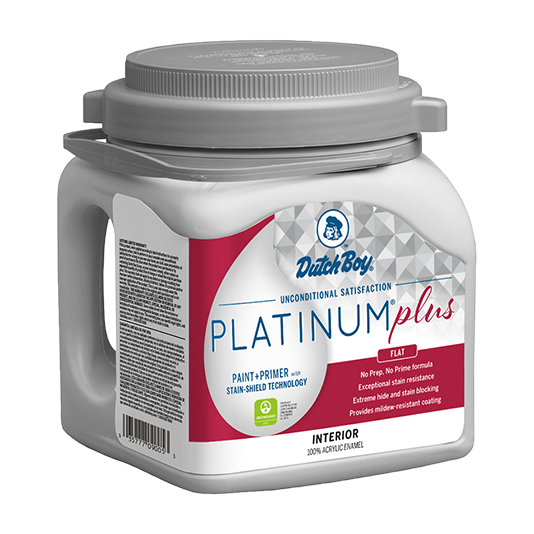
We used the product above. But you can view more Wall & Trim or Ceiling products.
Additional Supplies
- Purdy® woven roller cover and roller frame
- Purdy® paint tray and liners
- Purdy® angled paintbrush
- Precut vertical wooden boards (approximately 1" thick x 2" wide)
- Decorative hooks
- Cub brush
- Painter's tape
- Flexible joint knife
- Wood filler
- Fine- to medium-grit sandpaper
- Tape measure
- Level
- Pencil
- Hammer
- Finishing nails
- Screwdriver
- Drop cloth
- Clean, damp cloth
Available Exclusively at Menard’s
Free store pickup where available.
Step 1:
Lay down the drop cloth to protect floors; use painter's tape to cover trim, molding, ceiling and the edges of any adjacent walls.
Step 2:
Using the angled brush, apply paint just inside taped areas, then paint remaining area with the woven roller; remove painter's tape while paint is still damp; allow paint to dry 24 hours.
Step 3:
Prep vertical wooden boards by lightly sanding any rough surfaces; wipe with clean, damp cloth to remove dust or debris.
Step 4:
Using the angled brush, paint all sides of each board; allow paint to dry completely.
Step 5:
Using the tape measure, determine the center point of the wall by measuring wall to wall and lightly marking with a pencil.
Step 6:
Install vertical boards using a precut jig and mark the end points; level and secure boards to the wall with finishing nails and hammer; install remaining boards to the wall.
Tips: Use a stud finder to locate studs. If you don't have stud finder, know that most light switches and outlets are attached to a stud, which are typically spaced 16 inches apart.
A 16-inch precut jig is recommended. You can adjust the length based on the length of your wall.
Step 7:
Use wood filler to fill in all nail holes and gaps; sand and use the clean, damp cloth to smooth wood filled surfaces and allow to dry.
Step 8:
Use the flat brush and paint to touch up wood-filled areas.
Step 7:
Using measuring tape, determine placement of the hooks across the vertical boards; screw hooks into vertical wood boards.
Tips: In order to screw in the hook easier and reduce the risk of splitting wood, drill pilot holes in the boards.
Show off your project.
Were you inspired by one of our ideas? We’d love to see. And share. Tag @dutchboypaints on Instagram to have your project featured.