
Featured Colors
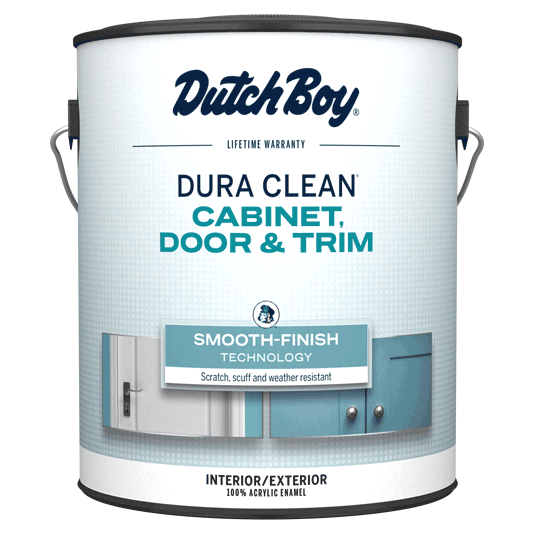
We used the product above. But you can view more Doors, Windows & Trim products.
Additional Supplies
- Purdy® angled paintbrush
- Purdy® small, angled paintbrush
- Purdy® mini foam roller cover and roller frame
- Purdy® mini woven roller cover and roller frame
- Purdy® paint tray and liners
- Stencil design and instructions (see download below)
- Painter's tape
- Tape measure
- Pencil
- Thumbtack
- Screwdriver
- String
- Drop cloth
- Clean, damp cloth
- Level
Available Exclusively at Menard’s
Free store pickup where available.
Step 1:
Remove door hardware and wipe doors with clean, damp cloth to prepare painting surface.
Step 2:
Lay down the drop cloth to protect floors; affix painter's tape around doorframe and over hinges; apply pressure to tape to ensure a tight seal.
Step 3:
Paint the door(s) by first using the angled brush to paint the panels and molding and then use mini woven roller to paint the remaining areas.
Step 4:
Remove painter's tape while paint is still damp; allow paint to dry 24 hours.
Step 5:
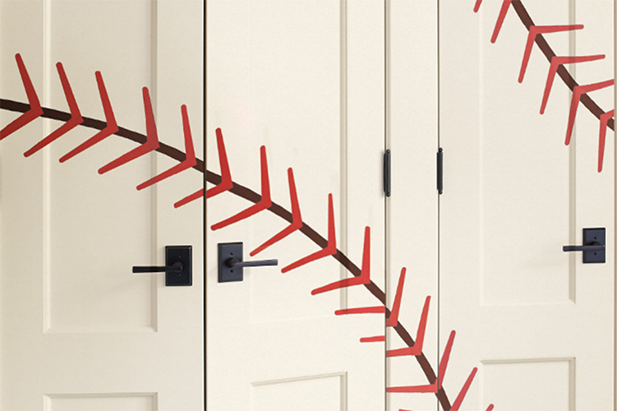
Determine first arc position on the door by measuring outward from the bottom corner of the door to determine the radius; measure and cut a piece of string the same length.
Step 6:
Tie one end of string tightly around the pencil and secure the other end to the bottom corner of the door with the thumbtack.
Step 7:
Keeping string taut, lightly draw an arc that encompasses the door and trim area.
Step 8:
Secure string in the opposite upper corner and repeat steps 6 and 7.
Step 9:
Using the second color, carefully paint the outline of the arcs freehand with the small angled brush; use the clean, damp cloth to wipe away any mistakes; allow paint to dry 24 hours.
Step 10:
Center stencil over the arc outline; secure the stencil in place with the painter's tape.
Step 11:
Using the mini foam roller, apply the third color over stencil; carefully lift the stencil after paint application and wipe down after each use.
Tip: Depending on the arc color and the stencil color, a second coat of paint may be needed for added coverage.
Show off your project.
Were you inspired by one of our ideas? We’d love to see. And share. Tag @dutchboypaints on Instagram to have your project featured.