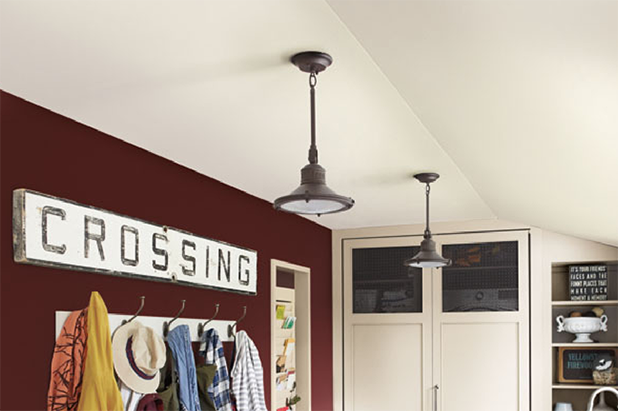
Featured Colors
We used the product above. But you can view more Wall & Trim or Ceiling products.
Additional Supplies
- Purdy® flat paintbrush
- Purdy® paint tray and liners
- Wooden window shutter
- Picture hanging kit (with D-Rings and wire)
- Fine- to medium-grit sandpaper
- Hammer
- Nails
- Clean, damp cloth
- Level
Available Exclusively at Menard’s
Free store pickup where available.
Step 1:
Prep shutter by lightly sanding any rough or glossy surfaces; wipe with clean, damp cloth to remove dust or debris.
Step 2:
Using the flat brush, paint the shutter, being careful to apply evenly in between the slats; allow paint to dry, following suggested drying time on the can label.
Optional: Apply a second coat of paint for added durability.
Step 3:
If needed, fasten picture-hanging hardware to the back of the shutter, according to the instructions supplied in the kit.
Step 4:
Hang finished shutter on the wall.
Show off your project.
Were you inspired by one of our ideas? We’d love to see. And share. Tag @dutchboypaints on Instagram to have your project featured.