Choose the right applicator


It‘s always smart to choose good-quality paint applicators and to use the correct paint applicator for the surface you’re painting.


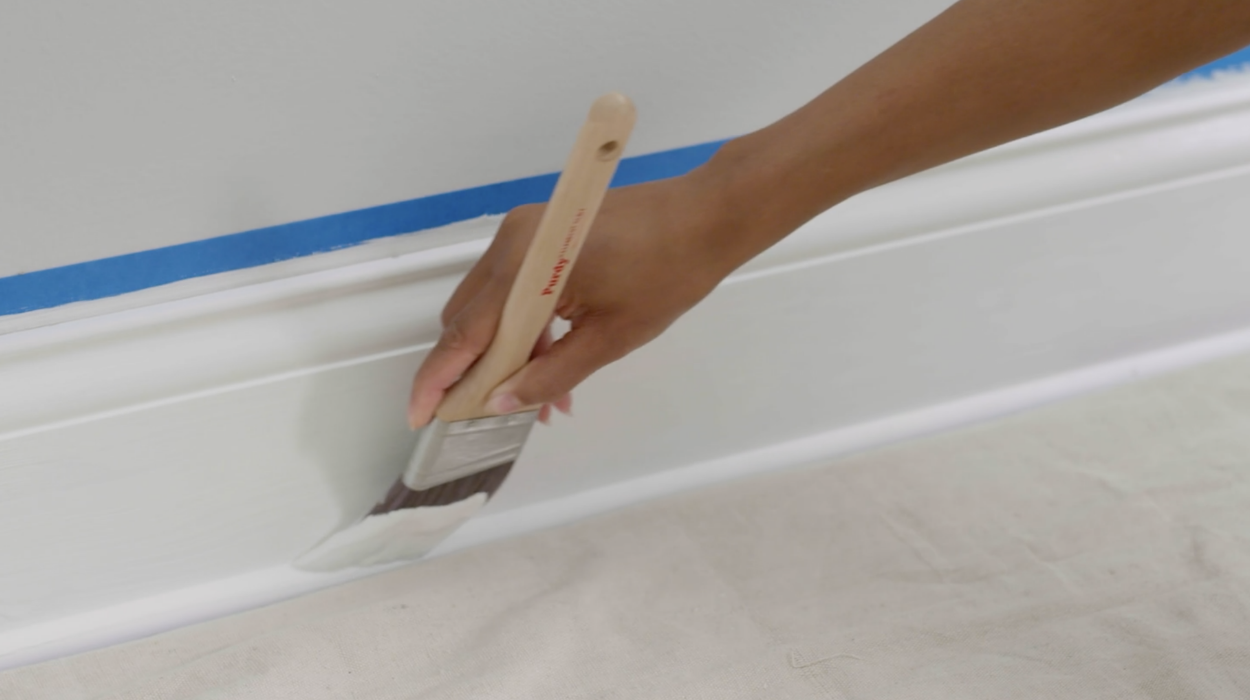
Paint Applicators: Purdy® Brushes

  • Natural long-bristle brushes are suitable for acrylics and water-based paints.
  • Natural short-bristle brushes are recommended for alkyd gloss enamels and polyurethane finishes.
  • Synthetic-bristle brushes are good for acrylic and water-based paints. They’re also well suited to rough work, such as brick and masonry work.

Good quality paintbrushes are a wise investment. When finished painting, never allow the brush to dry out. Soak the brush in the recommended solvent and then wash in warm soapy water or mild detergent. Finally, rinse in cold water, comb natural-bristle brushes straight with a brush comb and hang from the handle to dry. Brushes should be stored hanging.


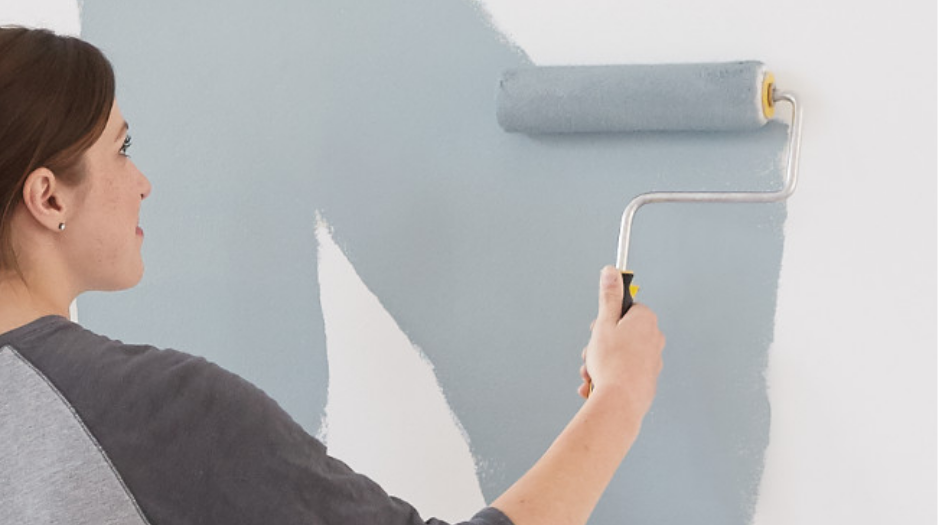
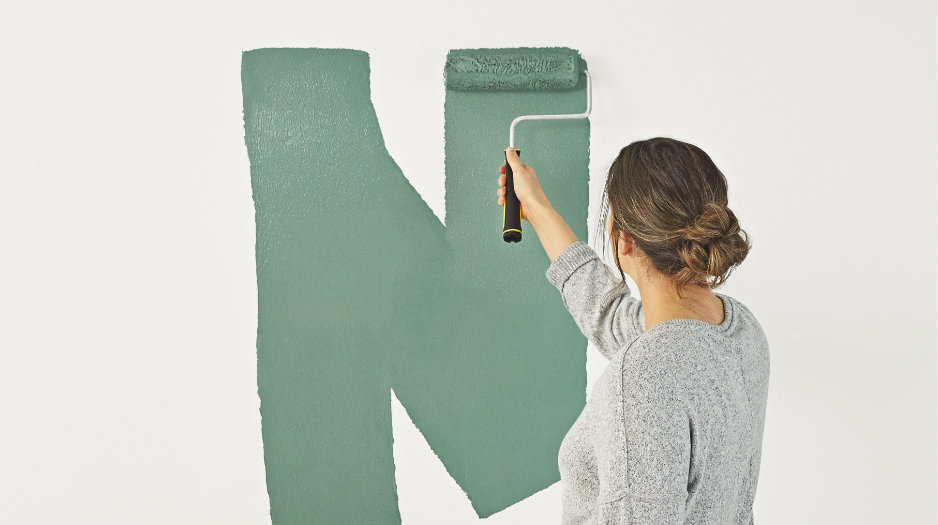
Paint Applicators: Purdy® Rollers

In most cases, a roller is better than a brush for walls and other large surface areas. Use the correct type of roller cover for the type of paint you're working with – check the label on the roller cover for specifications.

  • Synthetic roller covers are suitable for latex paints.
  • Natural materials, like sheepskin or lambswool, are good for oil-based paints.

The nap or thickness of the roller cover is also important and is chosen depending on the texture or roughness of the surface being painted:

  • 1/8" to 3/16" - Smooth surfaces like untextured plaster, smooth wood, wallboard, drywall and metal.
  • 3/8" to 1/2" - Medium surfaces like sand finishes, lightly textured plaster or wood, paneling and acoustical tile.
  • 3/4" to 1-1/2" - Rough surfaces like brick, concrete, stucco, textured ceilings or walls, Spanish plaster, concrete block, corrugated metal and rough wood.

Painting ceilings


Start by using a 2-4" trim brush to “cut in” the edges of the ceiling where it meets the walls. Immediately paint the ceiling with a roller, working the shorter dimension of the room. For example, if the room is 6’ x 10’, work across the 6-foot length to maintain a wet edge. If the room is large, cut in small areas, then use a roller to maintain a wet edge and prevent lap marks.


It’s always best to prime ceilings before painting because ceiling paints are typically flat and porous. Rising heat adds to porosity, making ceilings dry and likely to absorb paint quickly. A primer will seal the surface and allow for better coverage and uniformity of the ceiling paint.

Painting walls


Once the ceiling is thoroughly dry, paint one wall at a time. Cut in (paint the edges) where the wall meets the ceiling or other walls, around the door and window trim and at baseboards. If a lot of cutting in required, cut in and then paint only a section of the wall at a time to avoid lap marks where the rolled sections meet the brushed edges.


Once a section has been cut in, begin painting the walls immediately, rolling as close to the edges as possible to blend in. For best coverage, plan to roll out a section about 3’ x 3’ with one roller-load of paint. Within the square, apply paint in the form of an "N": straight up for the left side of the N, then down at a 45-degree angle and up again for the right side of the N. Fill in the center of the N with horizontal strokes from side to side, then lightly smooth with vertical strokes, staying within the 3-foot square. Reload the roller and repeat the N in the next 3-foot square below the first. When a 3-foot-wide section is complete from floor to ceiling, move to the next 3-foot wide section, again working from top to bottom.

Painting doors


Before you start, remove or cover the door hinge, knob and latch with masking tape. If paint gets on the hardware, wipe it off immediately with a soft, damp cloth.


Painting Paneled Doors

Begin by painting the top panels of the door by started with the molding edges. Next, paint the center of the panel. The final strokes on vertical panels should be vertical; the final strokes on horizontal panels should be horizontal. After completing all panels, paint the raised areas (stiles and rails) between panels. Then paint the vertical stiles and the edges.


Flush Doors

Paint flush doors the same way you would paint a wall or other flat surface. Paint the edges first, and then fill in the large area. Complete the job by painting the frame and jamb.

Painting floors


The techniques for painting porches and floors are the same as for painting other large, flat surfaces.

  • Remove all furniture from the area.
  • Remove all traces of wax and sand the floor lightly to roughen the surface to improve its paint-holding ability.
  • Use a porch, deck and floor paint.


Cut in around baseboards with a brush, then use a wide wall brush, a medium-pile roller or a paint-pad applicator for the rest of the floor. If you use an extension handle on a roller or paint pad, you’ll be able to do the job standing up. Start at the wall farthest from the exit and paint your way out of the area. On most wood floors, plan to apply at least two coats of paint. Let each coat dry to absolute hardness before reentering the room. Wear soft-soled shoes until after the last coat to avoid marring or scarring the surface.

Painting trim


Painting trim is a simple way to accent the colors of wall and ceiling surfaces – or paint trim white to embolden and emphasize other colors. Typically, working with trim requires a brush and is more time-consuming than painting large surfaces such as walls. Take your time; it's worth the patience. Work top to bottom and use an angled brush for better control, especially in corners. Protect wall and floor surfaces with a wide wallboard knife, a plastic shielding tool or masking tape.


Be sure to wipe the paint off your wallboard knife or shielding tool each time you move it to keep paint from getting on trim and surrounding areas. Paint deeply patterned surfaces such as ornate trim and moldings with a stiff-bristled brush, like a stenciling brush. Use small circular strokes to help paint penetrate the recesses.

How To's

How To Repair
How To Sand
How To Clean