ㅤ
Surface and Color Variation
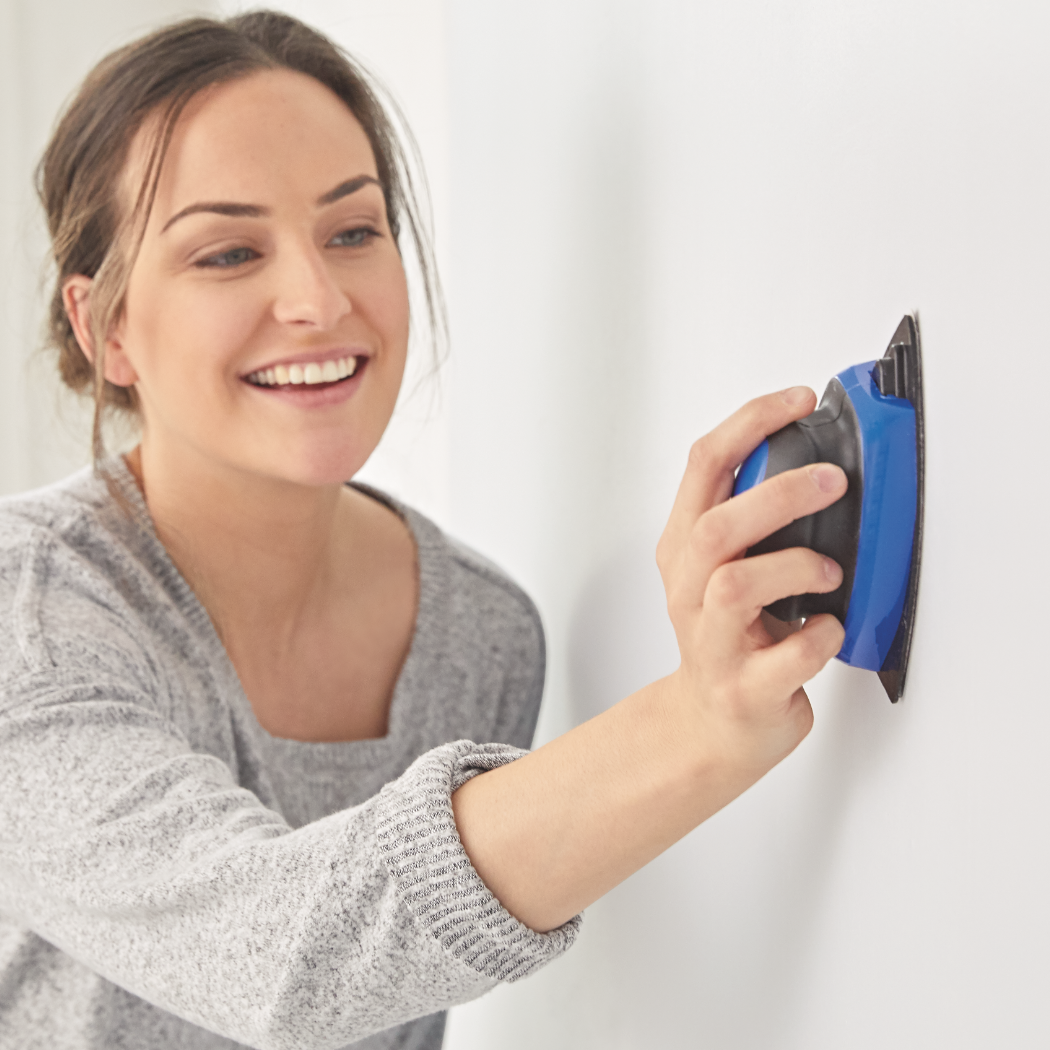
Applicator Marks, Poor Flow and Leveling
This occurs when the paint fails to dry to a smooth film, resulting in unsightly brush and roller marks after it dries.
POSSIBLE CAUSES
- Application of additional paint or re-brushing or re-rolling in areas where the paint has partially dried.
- "Working" paint too much during application; applying too rapidly or for too long.
- Use of the wrong type or nap size of roller cover or the wrong type or size of brush.
- Applying paint too thinly.
- Painting a hot surface or in direct sunlight.
- Coating a very porous surface.
SOLUTION
Allow the paint to dry thoroughly, then sand smooth and repaint.
Wait until paint has thoroughly dried before touching up.
Apply paint using good painting technique. Do not overwork the paint with the applicator; repeat smoothing strokes only until paint is even, then move on to the next section. The final stroke should move from the fresh section to the previously painted section, ending with an upsweep in the previously painted section.
Follow label directions for the appropriate applicator type, size and quality, appropriate paint thickness and appropriate environmental conditions.
Prime or seal porous surfaces.
ㅤ
ㅤ
Burnishing
Paint burnishing is an area of paint that shows an unwanted increase in gloss or sheen as a result of rubbing, scrubbing or having an object brush against it.
POSSIBLE CAUSES
- Use of a flat paint in high-traffic areas where a higher sheen level would be more durable.
- Frequent washing and spot cleaning with an abrasive cleaner.
- Heavy objects, such as furniture, rubbing against the walls.
- Use of paint that has a low resistance to scrubbing.
SOLUTION
Paint heavy-use surfaces requiring regular cleaning (doors, windowsills, cabinets and trim) with a paint that offers better durability and easier cleaning in a high sheen such as semi-gloss or gloss. On walls in high-traffic areas, choose a satin or semi-gloss, not a flat sheen.
To assure maximum washability and durability, wait at least two weeks before washing the dry paint film. When removing stains, dirt and marks, use a soft cloth or sponge with water or a general-purpose household cleaner. Remove penetrating stains and marks by carefully using an abrasive cleaner and water or by applying a solution of household bleach diluted in water and then rinsing with clean water.
ㅤ
ㅤ
Fading Due to Sun or Chalking
Fading due to sun or chalking is the premature and/or excessive lightening of the paint color, which can occur on surfaces with sunny exposures. Faded paint is relatively easy to see because hidden areas such as eaves will not usually fade. (Fading or poor color retention may also be a result of paint chalking; see "Chalking.")
POSSIBLE CAUSES
- Colors fade slightly when exposed to intense sunlight. As the coating ages, fading can become more noticeable. Slight paint fading is acceptable if gradual and uniform, so as not to be noticeable.
- Excessive chalking of the paint film will cause colors to appear lighter.
- Interior-grade colorants used outdoors will fade.
- Adding more tint to the coating than is recommended can cause fading.
- Interior coatings may also fade if they are near windows and there is significant sunlight exposure.
SOLUTION
If the substrate is in good condition except for fading, clean as needed and repaint with fade-resistant paint. Color chips will generally indicate when a color is prone to fading in exterior use. Follow label directions for surface preparation for the coating.
ㅤ
ㅤ
Hatbanding
Hatbanding is a non-uniform appearance of color that occurs when a wall is painted with a roller and the edges (where the roller could not reach) are "cut in" with a brush. The brushed areas generally appear darker, thus resembling a picture frame or hatband. Sprayed areas may be darker than neighboring sections that are brushed or rolled.
POSSIBLE CAUSES
- Hatbanding can be caused by applying paint at different thicknesses; for example, using a thick brush when cutting in, next to a wall thinly painted with a roller.
- Spraying versus brushing may also cause hatbanding due to differing paint thicknesses.
- Not maintaining a wet edge while painting (applying wet paint over dry or almost dry paint at the edges).
- Incomplete mixing of the paint; paint ingredients have settled to the bottom and are not uniformly incorporated before application.
SOLUTION
Where the edges of two sections overlap, if the first is still wet (the wet edge) when you paint the second section, the overlaps will meld into a single coat. If the first section has begun to dry when you paint the next section, the overlaps will, in effect, have two coats and look darker or more concentrated.
Cut in only a portion of a room -- no more than one wall -- before rolling. Working in smaller sections of the room will help maintain a wet edge. When using a brush, cut in as narrow an area as needed, usually 1" to 2", positioning the roller as close to the corner as possible.
Apply coating as uniformly as possible with any applicator, brush, roller or sprayer.
Shake all paints, even factory-blended colors or shades of white, thoroughly before use.
ㅤ
Lapping
Lapping is the uneven appearance of a darker or denser color or higher sheen when two layers overlap during paint application.
POSSIBLE CAUSES
- Failure to maintain a wet edge when painting; essentially, the area is receiving two coats.
- Painting an unsealed surface.
- Applying paint too thinly.
- Painting under high temperatures.
SOLUTION
Maintain a wet edge while applying paint. Apply in the unpainted area first and then back into the wet paint surface. This technique will produce a smooth, uniform appearance. Work in manageable areas and plan for interruptions at a natural break, such as a window, door or corner.
Prime the surface with the appropriate primer to prevent the paint from soaking into the surface and drying too quickly.
Follow label directions for the appropriate environmental conditions and spread rate.
To prevent uneven paint, begin rolling at a corner near the ceiling and work down the wall in two- to three-foot square sections. Spread the paint in an "N" pattern, start rolling from a dry area into the wet area. Cross-roll to fill in the "N" and finish with light, downward, parallel strokes to even out the finish.
ㅤ
ㅤ
Poor Coverage or Hide
Poor coverage or hide is the failure of dried paint to obscure or hide the underlying color or surface it’s applied to.
POSSIBLE CAUSES
- Spreading paint too thinly.
- Using paint with low hiding characteristics.
- Using a paint that is much lighter or darker than the previous coat.
- Using the wrong nap size of roller cover.
- Using the wrong type or size brush.
- Painting over a porous surface that absorbs the coating.
- Poor flow and leveling.
- Thinning or reducing the coating.
SOLUTION
Follow label directions for the appropriate coating thickness and spread rate.
Prime the surface with the appropriate system of gray-shaded primers for the color of the topcoat. For very deep or very bright colors, two or more coats may be necessary. (particularly primary colors of red, blue and yellow using a neutral base). Color chips and samples may indicate that multiple coats may be necessary. A gray primer will help achieve the desired depth of color in fewer topcoats than a white or tinted primer.
Determine the correct roller cover nap based on the coating being applied and the surface to be coated. On smooth surfaces, a 1/4" or 3/8" roller nap is usually sufficient. On medium texture, use a 1/2" nap. On heavily or deeply textured surfaces, use a 3/4" nap.
Prime porous surfaces before top coating.
Allow proper drying time before recoating.
ㅤ
Poor Touch-Up
A repaired or repainted area that is noticeably different from the surrounding surface is evidence of poor touch-up.
POSSIBLE CAUSES
- Applying touch-up with a different tool than what was used on the original coating (for example, touching up a roller application with a brush).
- Using a batch of paint that is different from the original application.
- Touching up a repaired area with a different texture than the surrounding surface.
- Applying touch-up at a temperature much different from the original application.
- Existing paint has faded from exposure to sunlight or weathering.
SOLUTION
Use the same tool to apply the touch-up as was used to apply the original paint.
Try to keep some of the original batch of paint for touch-up use.
When making repairs, try to make the repair match the surrounding area as closely as possible in appearance, or feather the repair out into the surrounding area to reduce any abrupt change in texture.
It may be difficult to know the environmental conditions that existed when the original coating was applied. Use good painting technique when applying any coating; follow the label instructions for acceptable environmental conditions.
Some thinning of the touch-up coating may help it blend into the surrounding finish.
ㅤ
Uneven Gloss (Flashing)
Uneven gloss is deterioration of the paint film resulting in excessive or rapid loss of gloss or sheen of the topcoat. The uneven appearance of a coating's gloss, sheen or luster is also an indication.
POSSIBLE CAUSES
- Use of a gloss alkyd/oil-based paint or solvent-based epoxy in areas of direct sunlight.
- Heavy dew, moisture or condensation on paint during drying.
- Temperature fluctuations during drying.
- Painting over a porous surface.
- Paint applied at uneven film thickness (lapping).
- Insufficient film build (applying paint too thinly).
- Use of interior paint outdoors.
SOLUTION
Exterior alkyd/oil-based paints and solvent-based epoxies will chalk and appear as a loss of gloss. Washing the chalk off should return most of the original sheen, but it will likely chalk again. If this is unsatisfactory, recoat with an acrylic paint and follow all label directions.
Bare surfaces should be primed or sealed before applying topcoat to ensure a uniform surface.
Spot-prime any patched areas to even out the surface porosity.
Applying an additional coat may help even out sheen irregularities.
Thinning the touch-up paint may help it blend better and match the sheen of the surrounding area.
Follow label directions for the proper environmental condition for application, appropriate spread rate and applicator and product use.
ㅤ
Yellowing
Yellowing is the development of a yellow cast in aging paint, most noticeable in white paints or clear varnishes.
POSSIBLE CAUSES
- Alkyd/oil-based paints, because of the way they cure, tend to yellow, particularly in areas that are not exposed to sunlight.
- Oil-based varnishes start with an amber cast and darken with age.
- Heat from stoves, radiators and heating ducts.
- Lack of light, such as behind pictures or appliances or inside closets.
- Tobacco staining or other environmental contaminants.
- Moisture.
SOLUTION
If there are no other problems and the yellowing paint is not offensive, repainting is not necessary.
Repainting with latex paint will reduce the amount of yellowing, but if environmental conditions that caused the previous yellowing continue, any new coating will likely yellow as well.